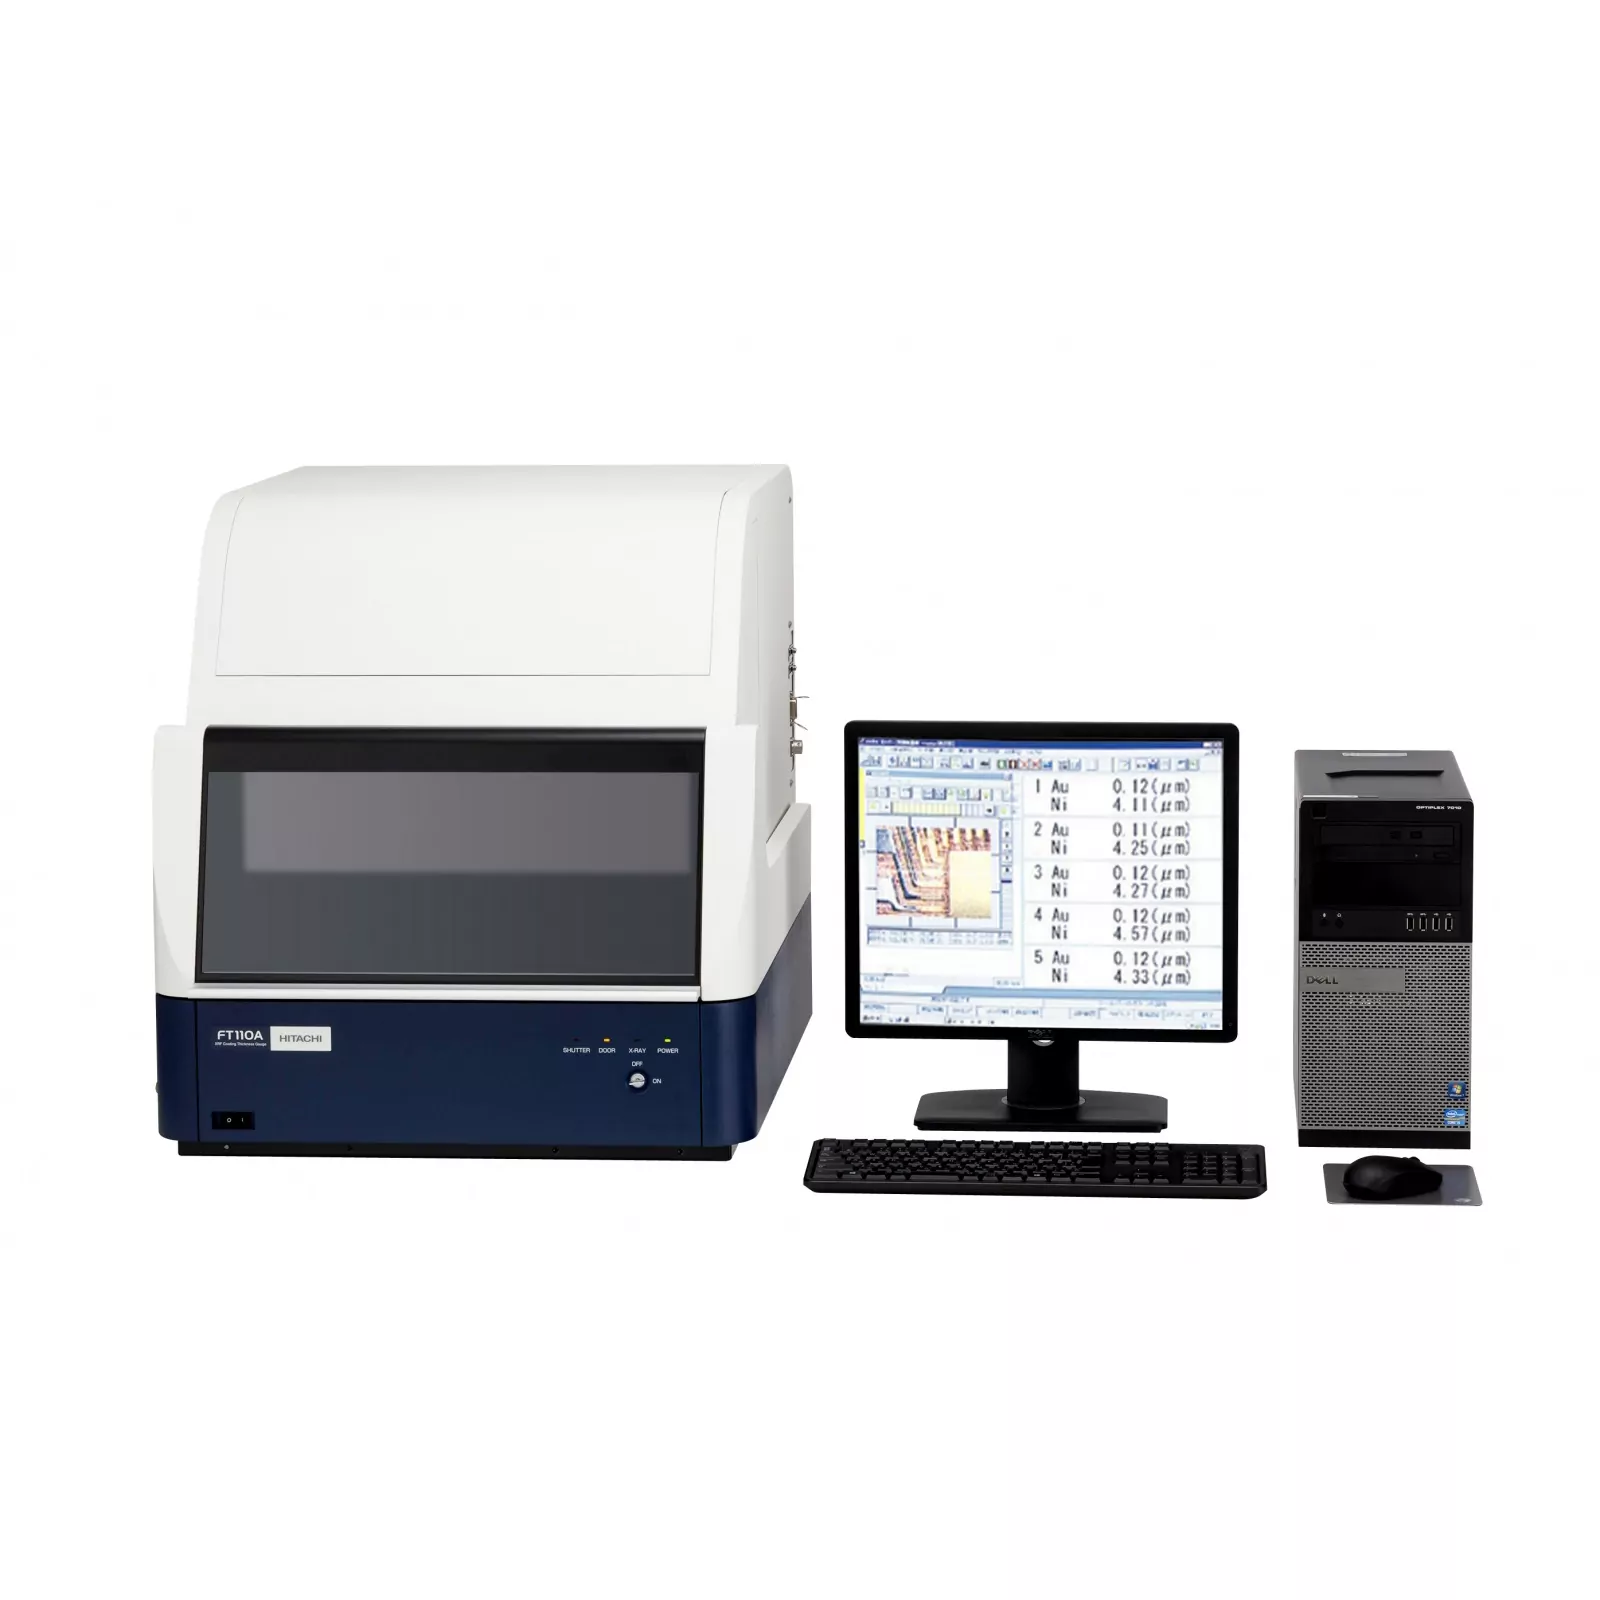
XRF Coating Thickness Gauge Spectro FT230
XRF Coating Thickness Gauge Spectro FT230
The FT230 benchtop XRF analyzer has been designed to significantly reduce the time taken to make a measurement. Recognizing that the most time is taken with sample setup and measurement recipe selection, engineers at Hitachi have created a ground-breaking analyzer that effectively ‘sets up’ itself, making it possible to analyze many more parts within a single shift.
XRF Coating Thickness Gauge Spectro FT230
| Parameters |
FT230 benchtop XRF analyzer |
| Element range |
Al (13) - U (92) |
| Detector | Silicon drift detector (SDD) |
| Chamber design | Slotted or closed |
| XY stage design |
Motorized or fixed |
| XY stage travel | 250 x 200 mm |
| Motorized Z-axis travel | 205 mm |
| Largest sample size | 500 x 400 x 150 mm |
| Number of collimators |
4 |
| Focus laser |
Included as standard |
| Automated focus | Option |
|
Wide-view camera |
Option |
|
Distance-independent measurement |
Option |
|
Find My Part™ smart recognition |
Option |
|
Coatings analysis |
✔️ |
|
RoHS screening |
✔️ |
|
Software |
FT Connect |
Automation and innovative software are what makes the FT230 analyzer. Smart Recognition modules such as Find My Part™ mean that all the operator needs to do is load the sample, confirm the part and the FT230 takes care of the rest. It will find the right measurement locations on your part – even on large substrates – select the correct analysis program and send the results to your quality system. Time and human error are reduced, and you get more analysis done in less time, making 100% inspection much more realistic in a busy production environment.
Every single element of the FT230 has been designed to drastically reduce analysis time.
- Automated focusing reduces sample loading time
- Find My Part™ smart recognition automatically sets the complete measurement routine
- Sample view is presented over a large part of the screen for excellent visibility
- Self-checking diagnostics confirms the health and stability of the instrument
- Integrates seamlessly with other software and easily exports data
- Intuitive and easy to use by non-specialists thanks to a new user interface
- Powerful to measure up to four layers at once plus the substrate
- Durable for a long-life in a challenging production or lab environment
- Conforms to ASTM B568 and DIN ISO 3497
- Helps you meet specifications for ENIG (IPC-4552B), ENEPIG (IPC-4556), immersion Sn (IPC-4554) and immersion Ag (IPC-4553A)

